Running a Remote Agent on a Desktop
This guide walks you through setting up and running a remote agent VM on your own desktop machine and accessing it remotely using Heyo Desktop or heyvm CLI. Developers choose to do this when taking advantage of a powerful local machine, sharing a configured agent across devices, or keeping an agent running without worrying about closing the lid of your laptop.
Prerequisites
- Heyo Desktop installed on Linux or macOS
heyvmCLI installed and up to date- A Heyo account
Make sure you're on the latest version of heyvm before starting:
heyvm --upgrade
Step 1: Set up the VM Image
Heyo ships a pre-built Linux image called agents-v1 that comes preinstalled with Hermes, Claude, Codex, and OpenCode — everything you need to get an agent running without extra setup.
# list the available public images to find the one you want
heyvm images list

# add it by its image ID (shown in the list, e.g. im-abc123)
# --name gives it a friendly local alias you can use with `create`
heyvm images add im-abc123 --name agents-v1
This downloads and registers the image locally. You only need to do this once.
On MacOS, the Apple Virtualization framework can be used to run either a Linux or macOS VM. Choose an apple_virt image and create a new VM:
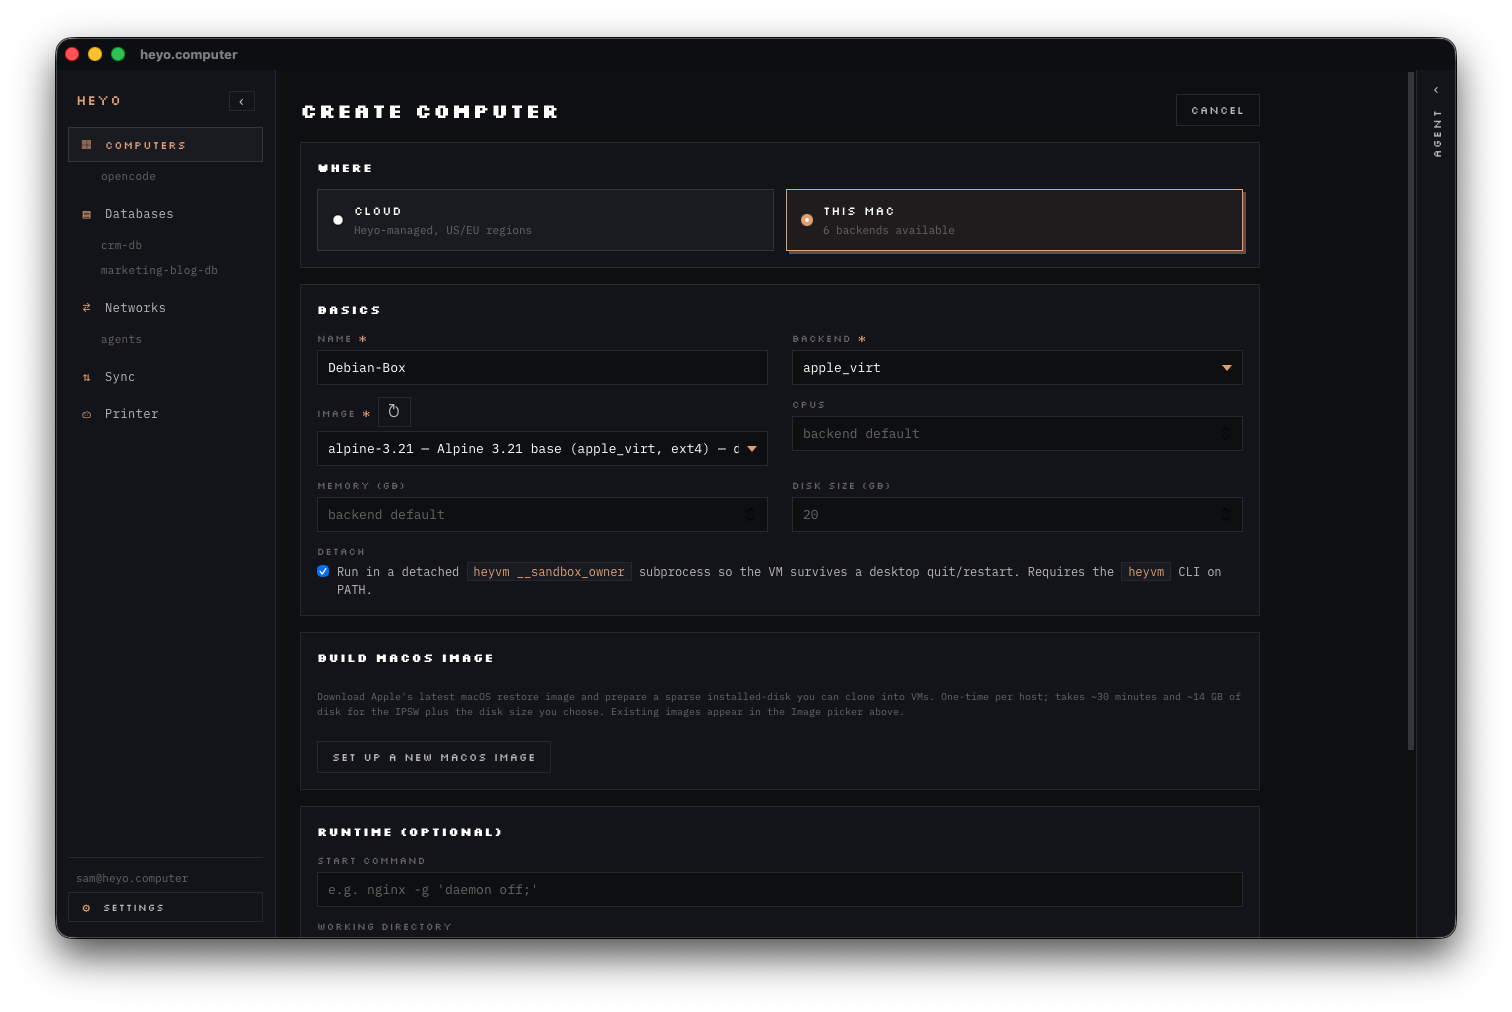
Step 2: Create an Agent VM
Create a new VM from the agents-v1 image and give it a name:
heyvm create --image agents-v1 --name my-desktop-agent
The VM itself gets a file system and disk space - it grows with usage, when you set a size you are simply setting the upper limit.
Step 3: Install your stack of choice
Once running, you can open a shell inside it:
heyvm sh my-desktop-agent
The Linux KVM image comes pre-installed with several agents, but since these are fully featured virtual machines, you can install whatever you like, for example, let's get started with Pi, a small coding agent that OpenClaw is built on top of. In the desktop app, choose the new VM from the list of local Computers are start a shell session. Here I used an Alpine Linux base image, so I am additionally using apk to install NodeJS and NPM.
# install dependencies
apk update && apk add nodejs npm

# install pi
curl -fsSL https://pi.dev/install.sh | sh

# install tmux so we can detach a session
apk add tmux

Step 4: Setup P2P
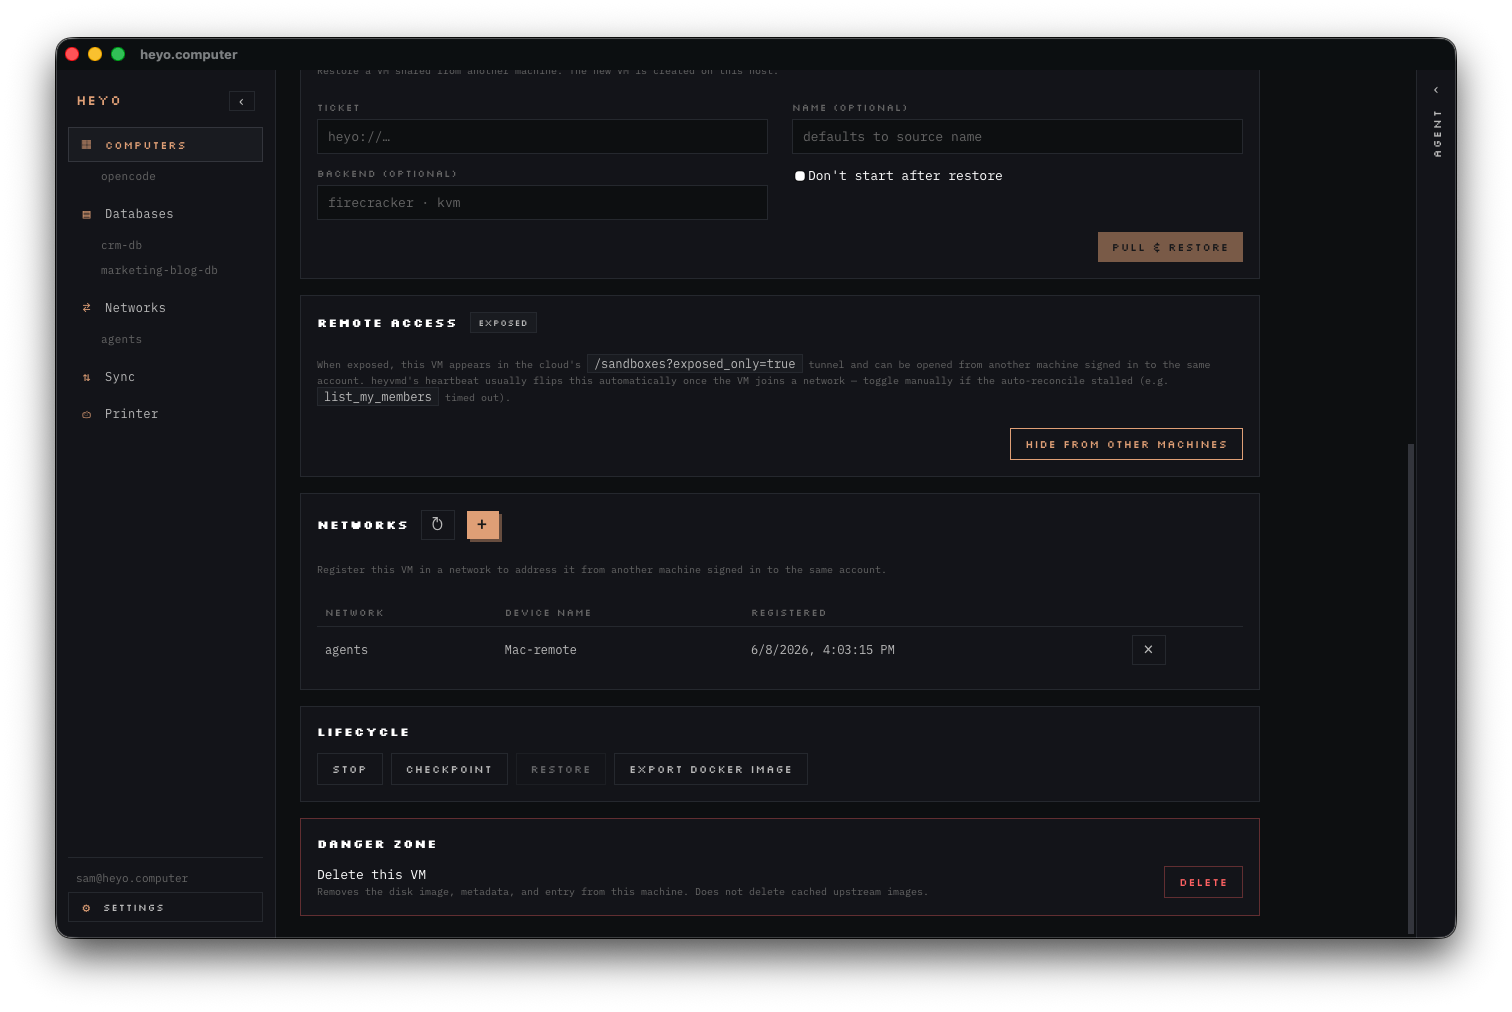
Heyo uses a peer-to-peer network to give you secure remote access to VMs running on your own hardware — no VPN or port-forwarding required. First, we need to explicitly expose the VM on a network. In this arrangement, Heyo Computer operates a virtual network and acts as a broker for devices to connect to each other.
In Heyo Desktop, open the VM in the Computer list and scroll to "Networks" and then add the VM to the default network (or another one if you would like to organize your VMs), then under "Remote Access", click "Expose to Other Machines" to allow the daemon to advertise the VM on other devices logged into the same account.
If you prefer the CLI, you can share the VM's shell directly over the P2P network. The --name flag saves a short, memorable alias that syncs to your other devices:
heyvm share my-desktop-agent --name my-desktop-agent
This prints a heyo:// ticket and registers the endpoint under the given shortname.
Step 5: Grab a Shell from another Device
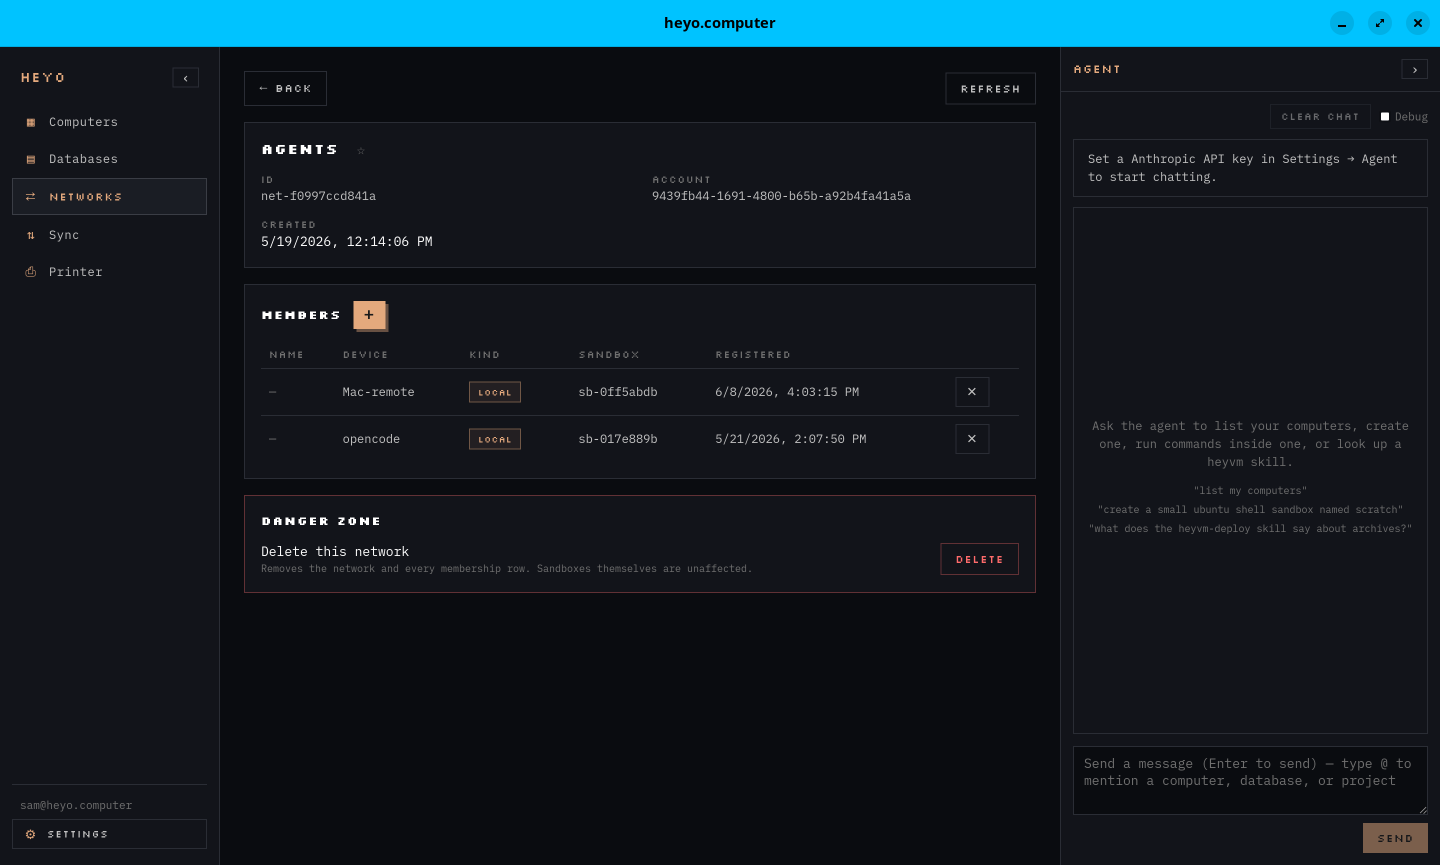
On another device, log into either the Heyo Desktop app or the CLI. Your VM will be available under the network it was added to.
From the CLI, connect using the shortname you saved (or paste the full heyo:// ticket) and open an interactive shell:
heyvm connect my-desktop-agent --shell
Here's the Desktop app on my daily driver, a Framework 13 Linux machine:
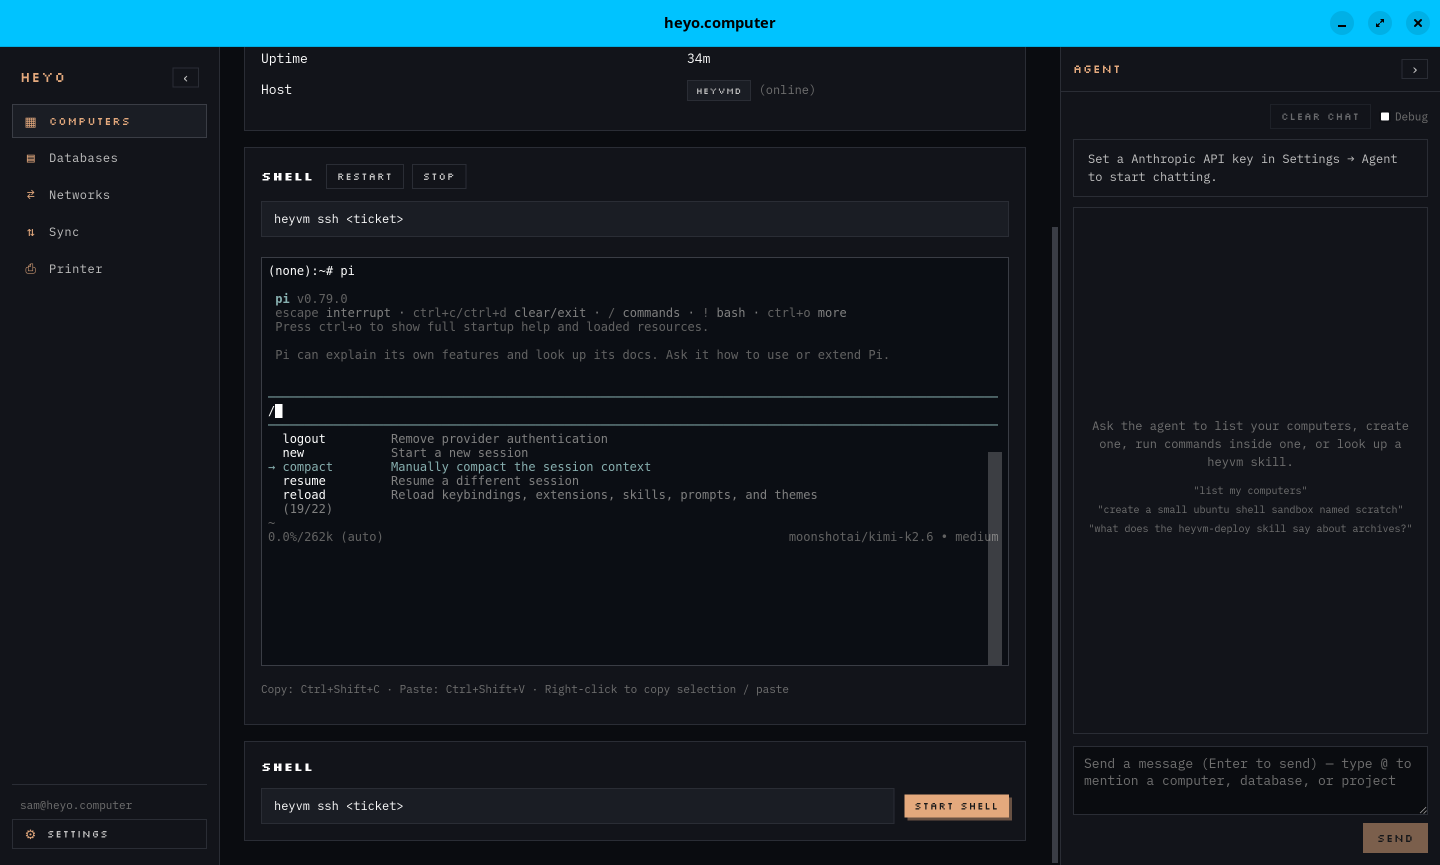
And why not fire up Pi in a shell directly in the app:
Step 6 (Optional): Sync or Clone to Another Machine
One of the core advantages of running agents in a VM is portability. You can sync a VM directly from one machine to another over the same P2P network, no cloud round-trip required.
# On the destination machine, listen for an incoming push.
# This prints a heyo:// ticket — copy it.
heyvm sync pull --listen

# On the source machine, push the sandbox to that ticket.
heyvm sync push my-desktop-agent --to <heyo://ticket>

# Once the transfer completes, start it on the destination machine.
heyvm start my-desktop-agent
You can also run it the other way around: heyvm sync push my-desktop-agent (with no --to) prints a ticket and waits, then heyvm sync pull <heyo://ticket> on the other machine receives it.
This means you can start work on your desktop, push a snapshot, and continue from exactly the same state on a laptop — with the same agent, same files, same history.